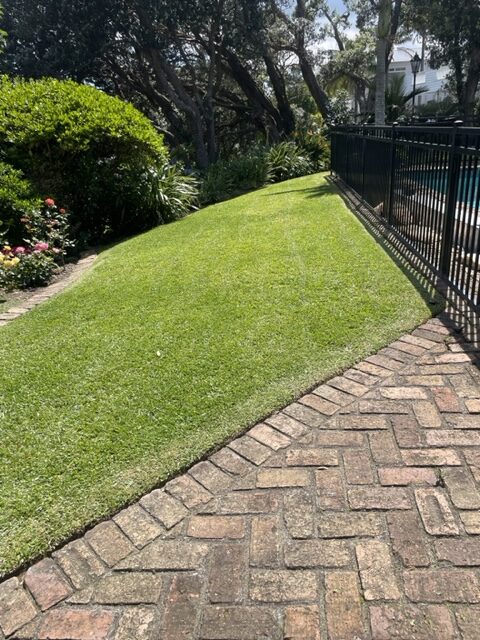
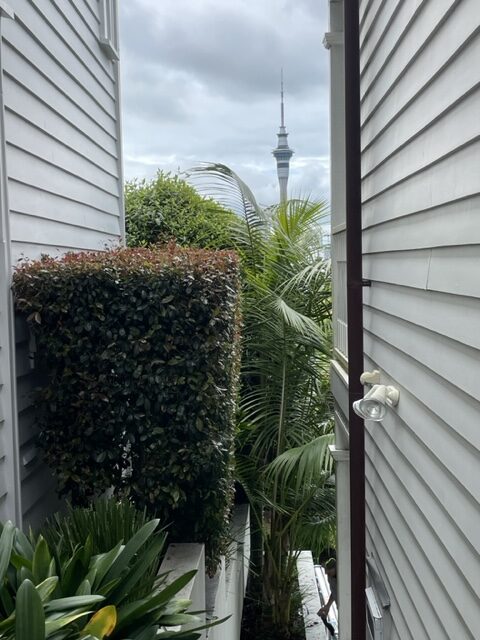
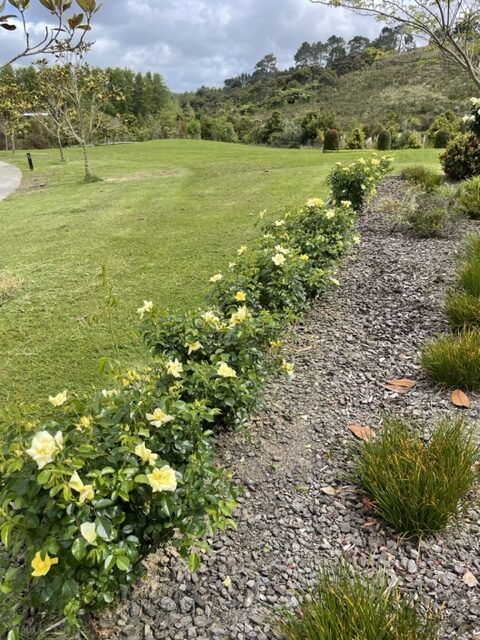
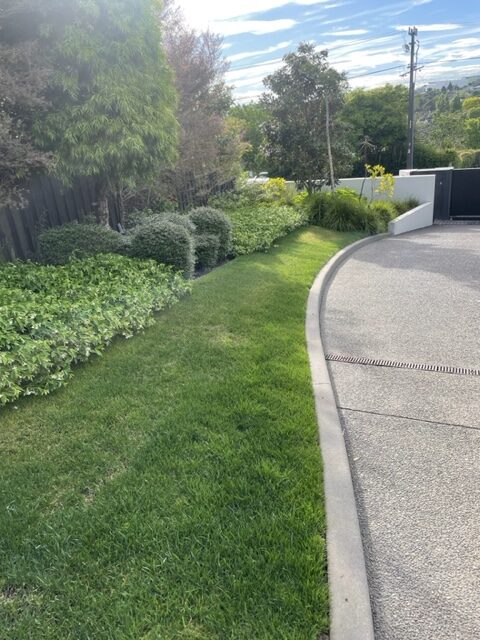
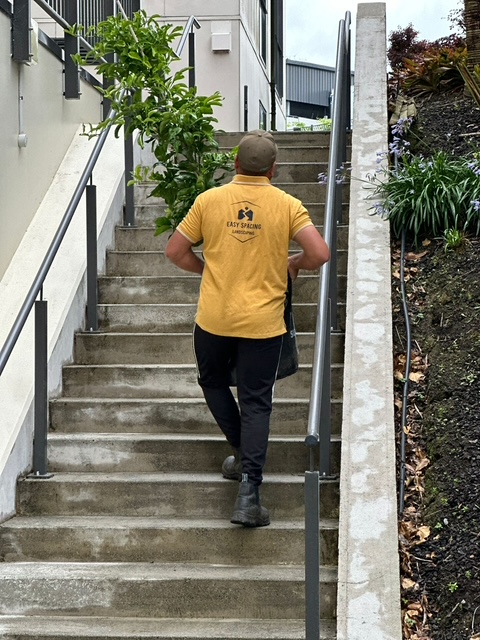
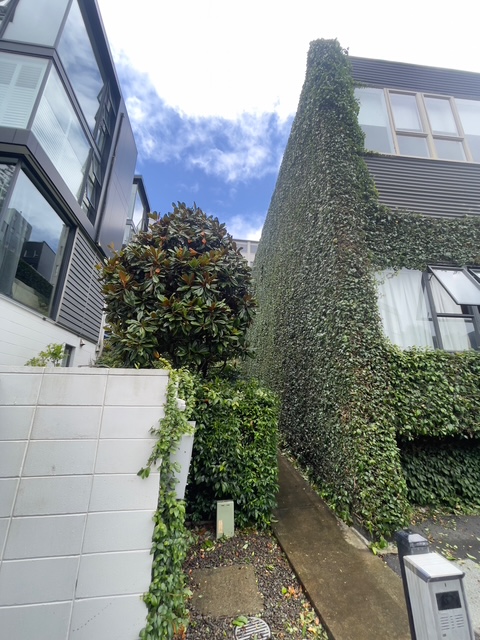
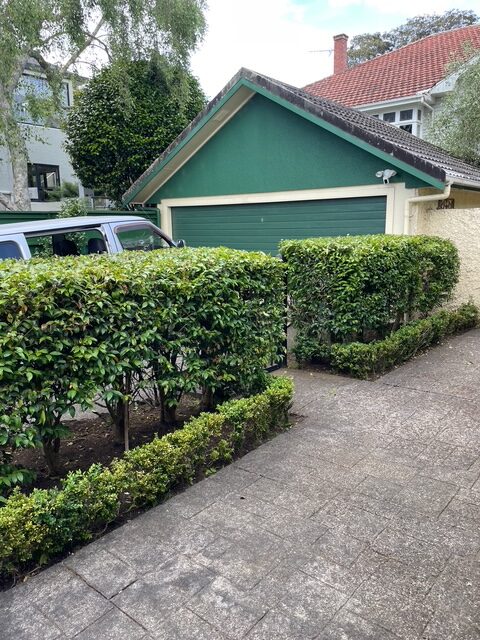
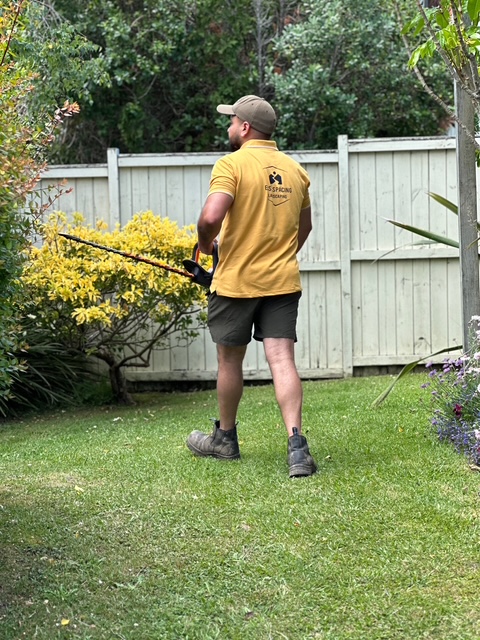
A change in level can turn an attractive garden into an awkward one – or become the feature that gives the entire landscape structure. Knowing how to design garden steps means looking beyond the path from one point to another. The best steps feel natural underfoot, direct people through the garden with ease, and hold their shape through Auckland’s wet winters and active outdoor seasons.
For a premium residential property, garden steps should be treated as part of the landscape architecture. Their width, material, drainage, surrounding planting, and connection to patios or decks all need to work together. A well-built stairway adds usable access and a stronger visual finish. A poorly planned one can create water problems, uneven walking surfaces, and an expensive repair later.
Start With the Route, Not the Materials
Before selecting stone, concrete, or timber, establish where the steps need to take people. The most effective route is rarely the shortest line between two levels. It should follow how the garden is actually used: from a driveway to the front entry, a deck to a lawn, or a main entertaining area to a lower garden room.
Walk the proposed route several times. Notice where water naturally travels after rain, where gates open, where children or guests are likely to walk, and whether the stairs need to accommodate wheelbarrows, garden equipment, or two people passing each other. A narrow side-yard path may only need a practical set of access steps, while steps leading from a large terrace should feel broad and welcoming.
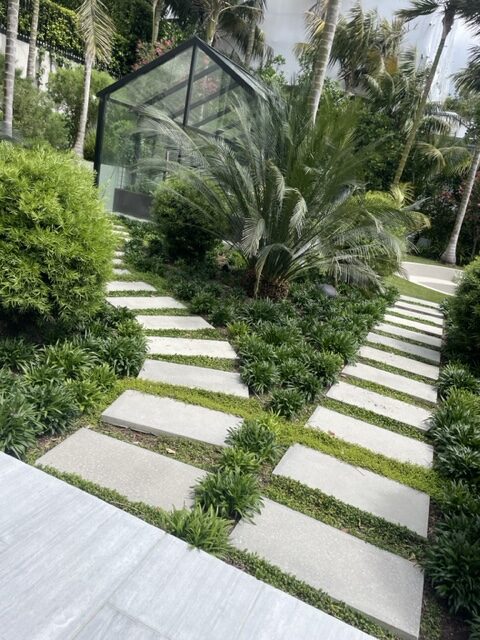
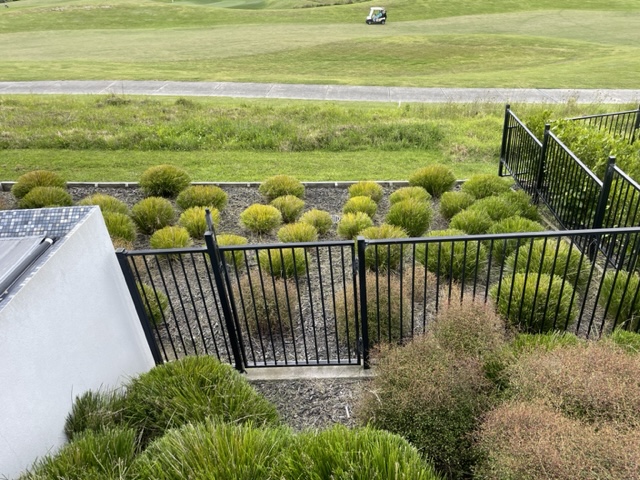
On sloping Auckland sites, the route should also respect the land rather than fighting it. A straight run can look crisp in a formal garden, but a gently turning stair can reduce the visual impact of a steep slope and create useful planting pockets beside the treads. The right approach depends on the site’s grade, the architectural style of the home, and the level of formality you want.
Get the Proportions Right for Safe Garden Steps
Comfort comes from consistent dimensions. Every riser should be the same height, and every tread should be the same depth. Even a small variation can catch a foot, particularly at night or when the surface is wet.
As a general guide, outdoor steps benefit from lower risers and deeper treads than interior stairs. A riser around 4 to 6 inches high with a tread depth of at least 12 to 16 inches usually creates a relaxed, confident stride. On a long slope, wider and shallower steps can look more like terraces, slowing the journey through the garden in a pleasant way.
The total rise between the upper and lower levels determines the number of steps. Measure this carefully, then divide it into equal risers before construction begins. Do not solve an awkward final height by making the bottom or top step different. It may seem minor on paper, but it is one of the most common causes of unsafe outdoor stairs.
Width deserves the same attention. A secondary access route may work at about 3 feet wide, but principal garden steps generally look and function better at 4 to 6 feet wide or more. Broad steps make a property feel more generous, provide room for people to move comfortably, and better suit a high-end outdoor setting.
Include landings where the slope calls for them
A landing is not simply a pause between flights. It can create a transition, provide a stable turning point, and break up a long run of stairs that would otherwise feel imposing. It is particularly valuable where the route changes direction or where a steep site requires multiple flights.
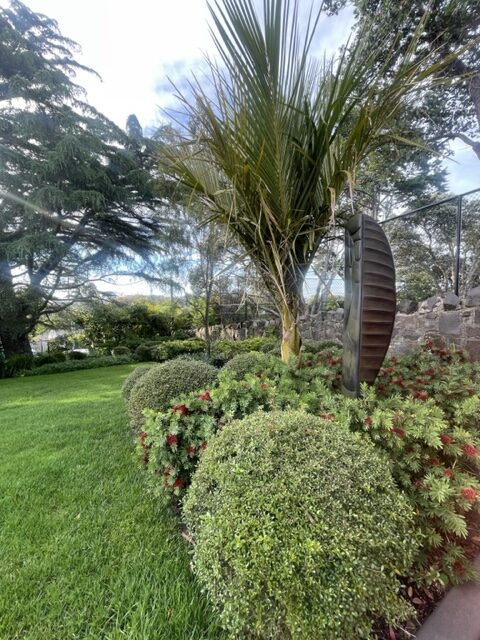
Landings can also become small destinations. A specimen tree, sculptural pot, bench, or framed view can turn a necessary change in level into a considered garden moment. Keep the landing large enough to be useful, rather than treating it as a narrow leftover platform.
Choose Materials That Suit the Home and Site
The best material is one that connects the steps to nearby hardscape and the home’s architecture. It must also perform in wet conditions. Beautiful material that becomes slippery or stains easily will not deliver the long-term result most homeowners expect.
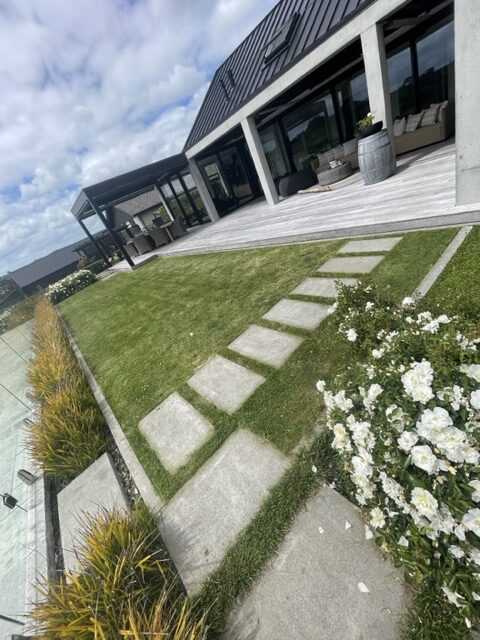
Natural stone is a strong choice for established gardens and premium homes. Bluestone, granite, and selected local stone can provide excellent durability and a substantial appearance. A sawn or flamed finish is often preferable to a polished surface because it offers more traction. Stone has a higher initial cost, but its longevity and visual permanence can make it worthwhile.
Poured concrete steps suit contemporary landscapes and can be finished in several ways, including exposed aggregate, lightly textured concrete, or stone cladding. They offer clean lines and strong structural performance when properly reinforced and supported. Concrete is also useful where precise geometry is needed to connect terraces, retaining walls, and access paths.
Timber steps can soften a garden and work especially well with decks, boardwalks, and informal planting. However, timber requires thoughtful detailing. Choose durable exterior-grade materials, allow for drainage and ventilation beneath the boards, and plan for regular maintenance. In shaded areas, timber can develop surface growth quickly if it is not cleaned and treated.
Gravel, loose pavers, and untreated smooth tiles are generally less suitable for main garden stairs. They can shift, become slippery, or make it difficult to maintain consistent riser heights. They may have a place in a low-traffic garden path, but primary access steps need a more dependable solution.
Design Drainage Before You Build
Water is one of the most important considerations when planning garden steps. If runoff collects at the top of a stairway or drains across the treads, the surface will be harder to use and more likely to deteriorate. On Auckland properties, where heavy rainfall can arrive quickly, drainage cannot be an afterthought.
The surrounding ground should be graded to direct water away from the stairs and nearby buildings. Depending on the site, this may involve a channel drain, a gravel drainage layer, subsoil drainage, or retaining-wall drainage behind the step structure. The right system depends on soil type, slope, and the amount of water moving through the area.
Every step base needs proper compaction and structural support. Simply placing pavers or stone treads onto loose soil may look acceptable at first, but settlement soon creates uneven levels and cracked joints. This is especially relevant on clay soils or filled ground, where movement can be more pronounced after extended wet periods.
If the steps sit beside a retaining wall, treat the two elements as one engineered system. The wall needs suitable footing, drainage, and backfill, while the steps require stable support that will not shift independently. Professional planning at this point protects both the garden and the property below it.
Use Edges, Lighting, and Planting to Improve the Experience
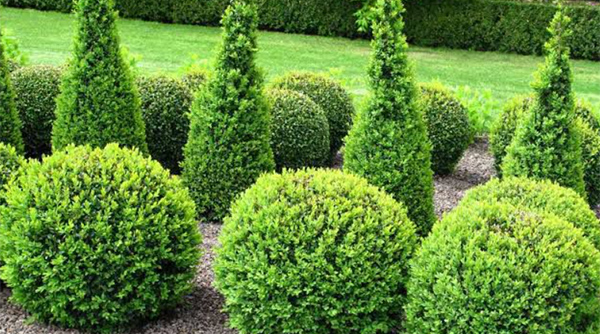
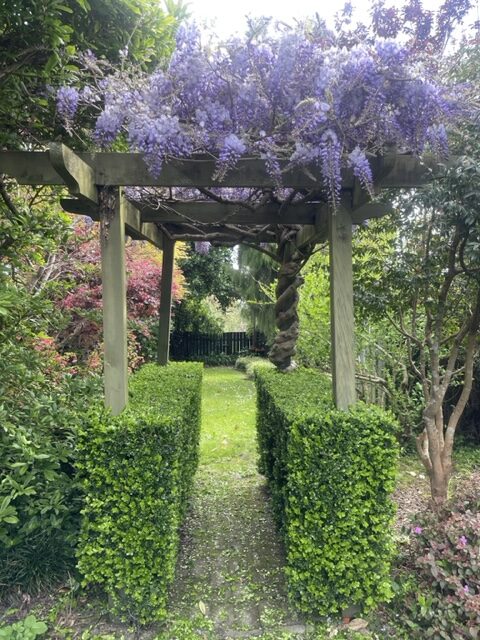
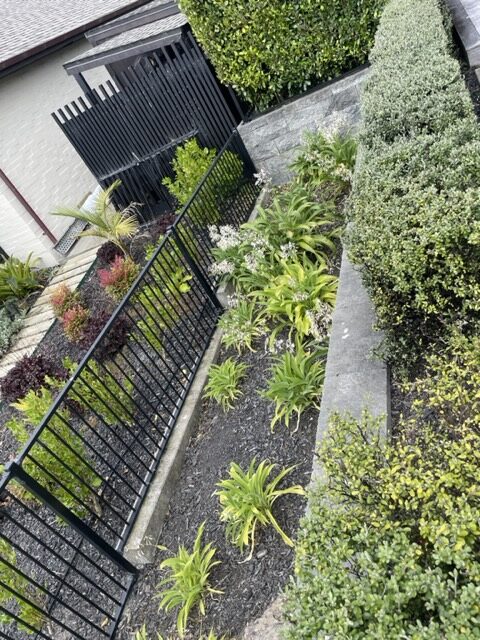
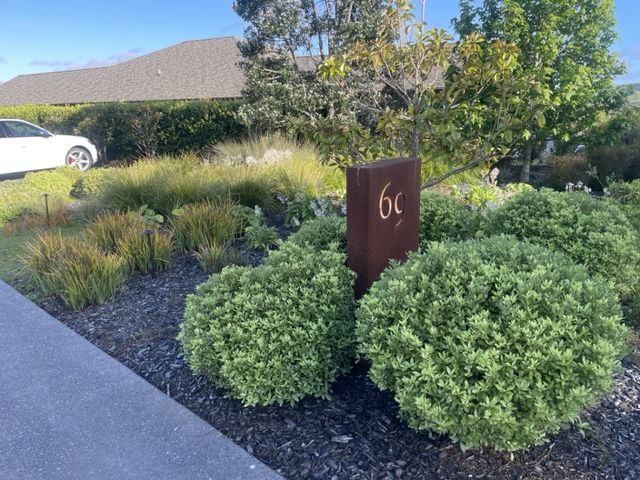
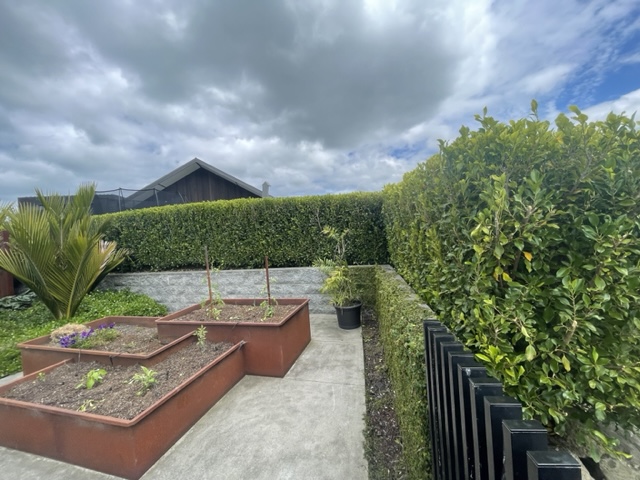
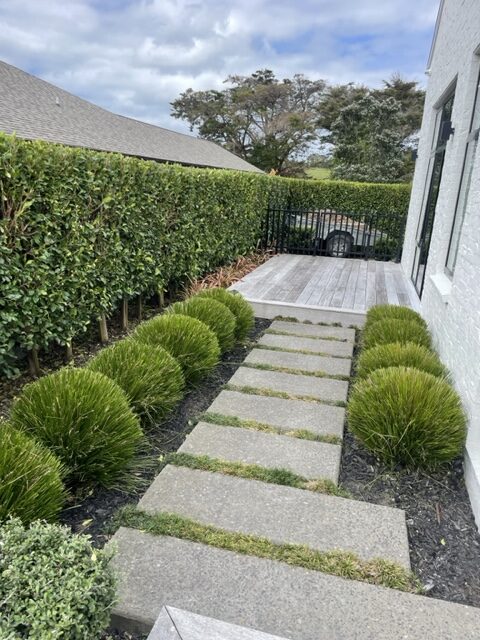
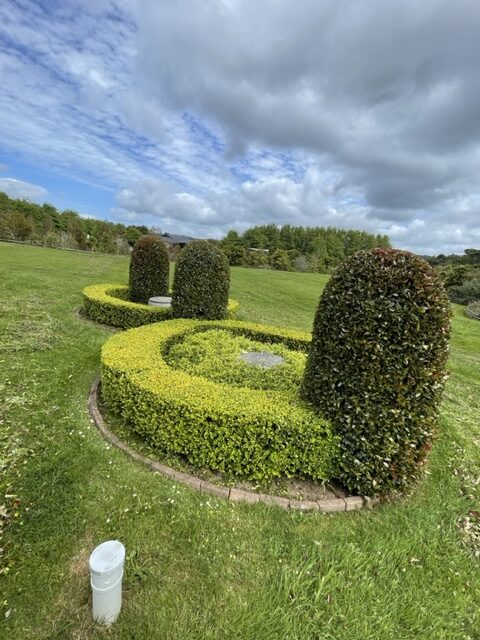
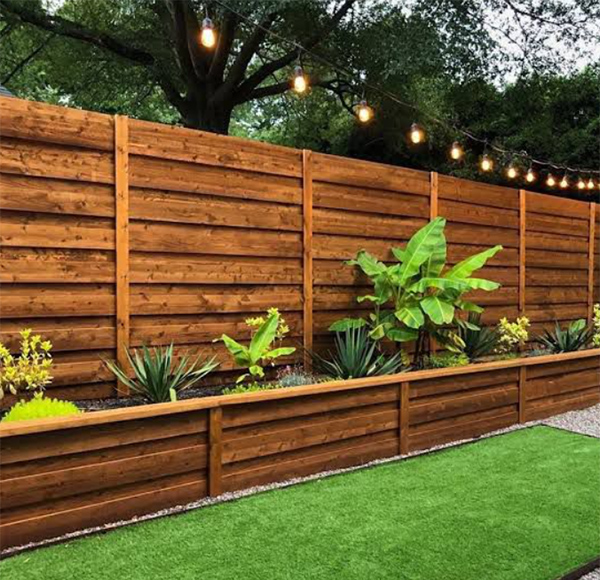
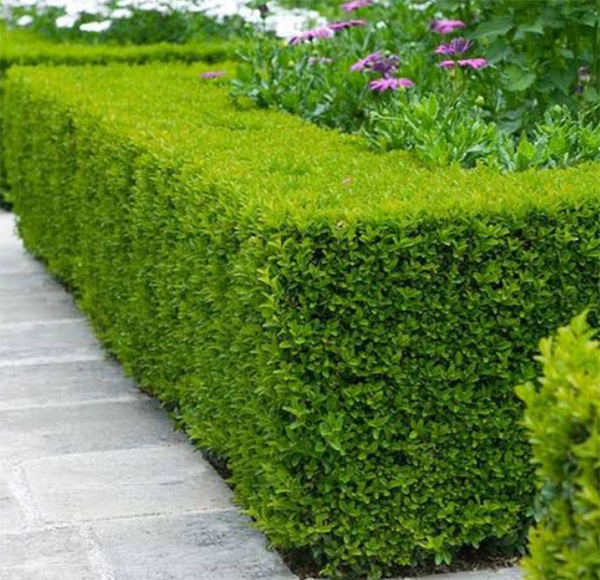
The edges of garden steps often determine whether they look complete. Low retaining walls, neatly clipped hedging, masonry edging, or planted banks can contain the route and give it a deliberate finish. Avoid dense planting that spills across the tread area or hides the change in level.
Lighting should be subtle but practical. Low-level fixtures on walls, recessed tread lights, or carefully positioned path lights help define each level after dark without making the garden feel overlit. The goal is to see the surface and edge of every step clearly. Glare from poorly aimed fixtures is distracting and can reduce visibility rather than improve it.
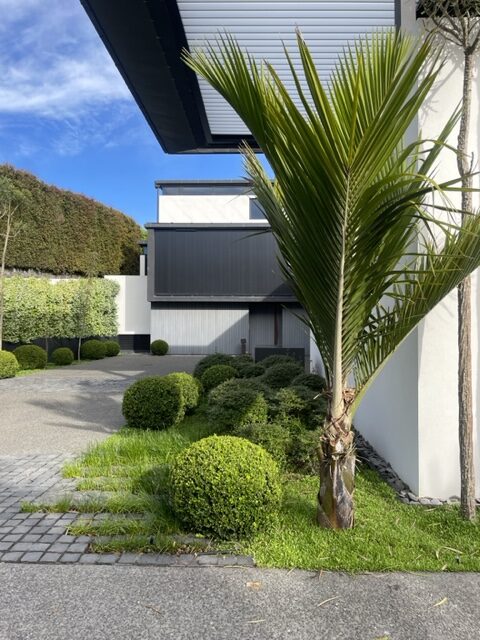
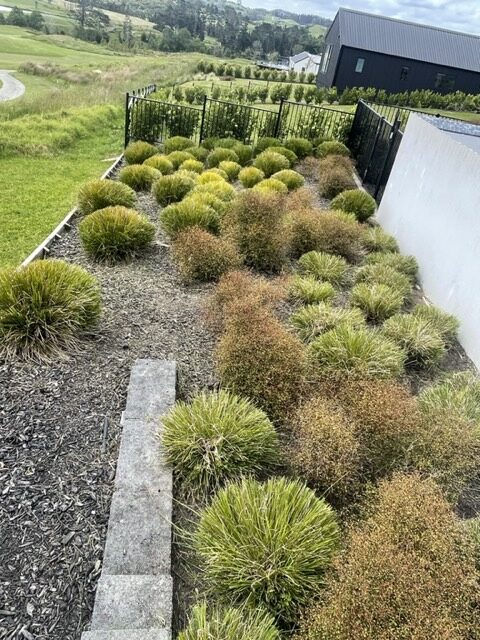
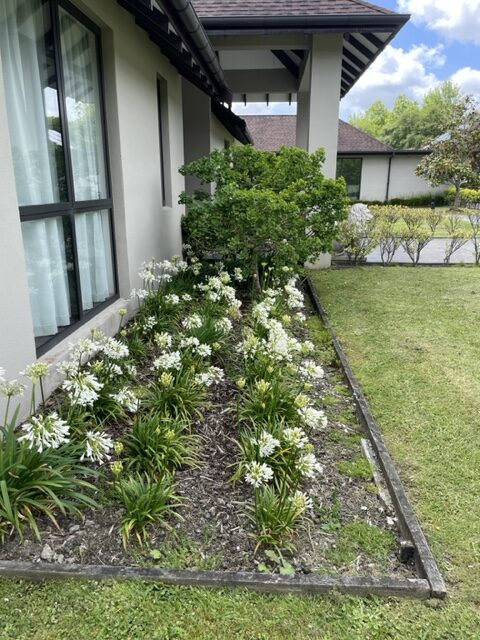
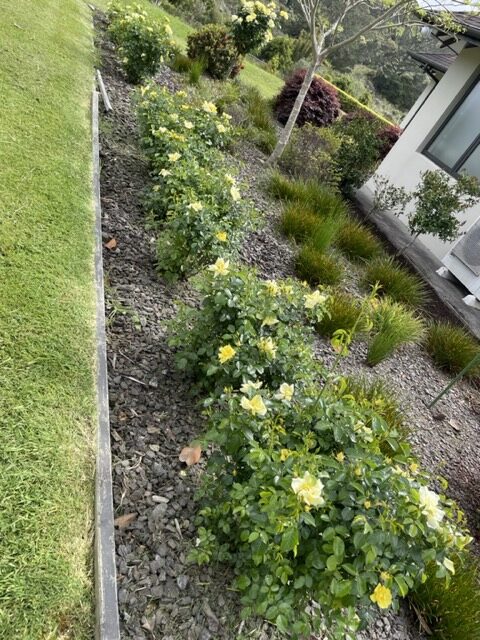
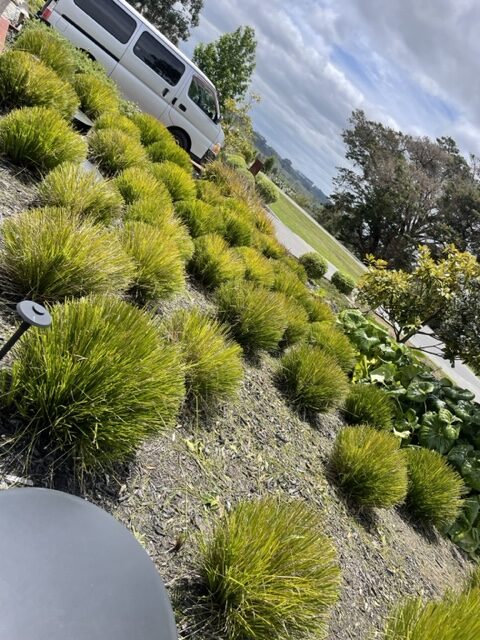
Planting should soften the construction while leaving enough clear space for access and maintenance. Structured evergreens, grasses, ground covers, and seasonal planting can all work well, depending on the style of the home. Plants near a stairway should be selected for their mature size, not the size they are when installed. Overgrown foliage creates dampness, blocks light, and makes a carefully designed route feel neglected.
For a more formal property, repeated planting along both sides of a central stair can create symmetry and visual order. For a naturalistic garden, staggered planting and stone outcrops can make the steps appear settled into the slope. Both approaches can be successful when the construction remains precise.
Know When a Professional Design Is Worth It
A few low steps between a lawn and patio may be a straightforward project. A stairway on a steep slope, beside a retaining wall, near drainage infrastructure, or connecting major outdoor spaces requires more careful coordination. Local requirements, site access, underground services, and structural conditions can all influence the final design and cost.
A professional landscape team can assess the levels, develop a cohesive material palette, manage construction details, and ensure the finished steps belong to the wider garden rather than appearing added on. This is particularly valuable when steps are part of a larger transformation involving decking, stonework, planting, or improved drainage.
Easy Spacing Landscaping Auckland approaches garden steps as a lasting part of the property, not a temporary fix for a slope. The aim is a route that feels effortless to use, complements the home, and remains dependable through every season. Start with the way you want to move through your garden, and let that purpose shape every detail that follows.