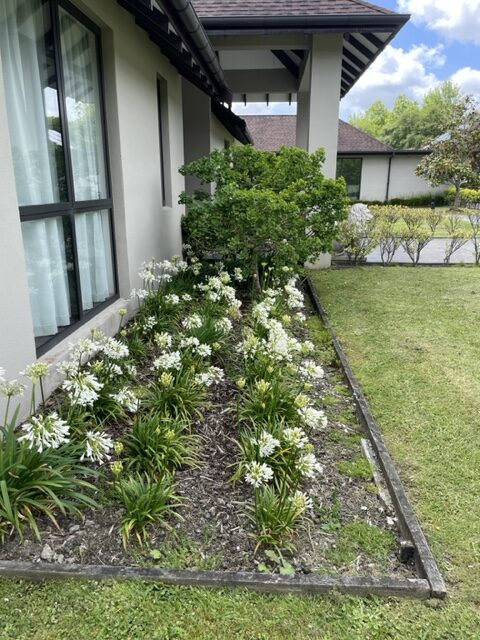
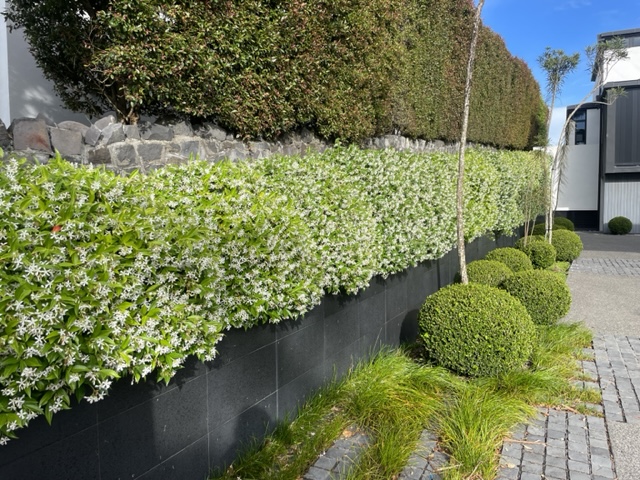
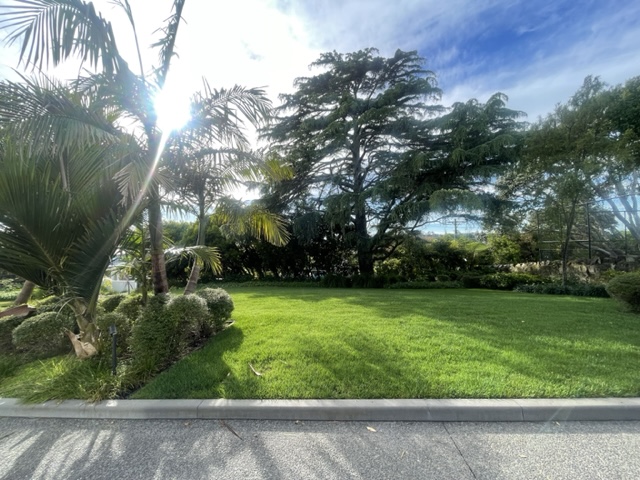
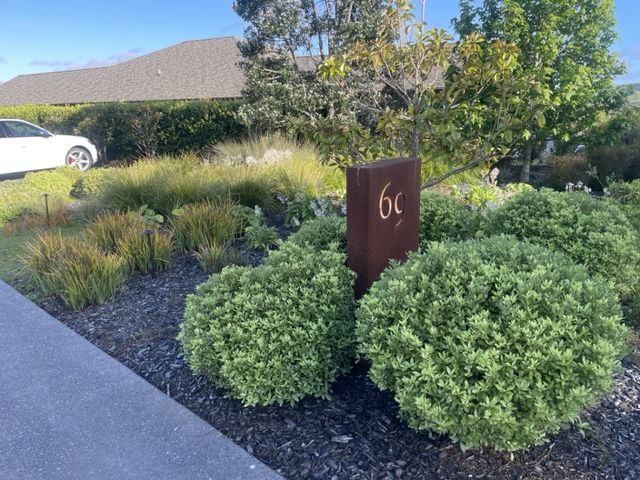
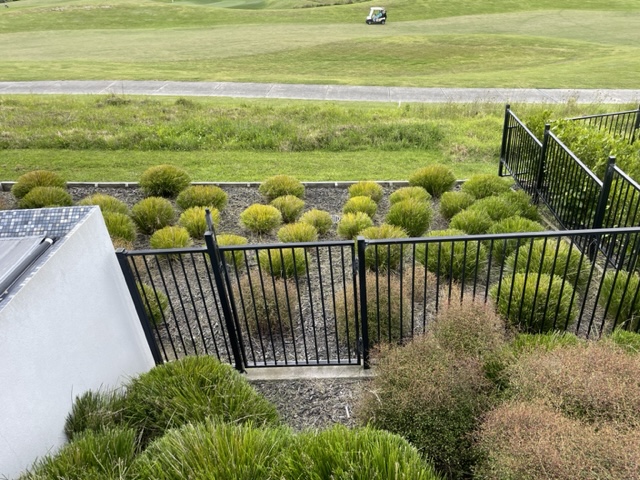
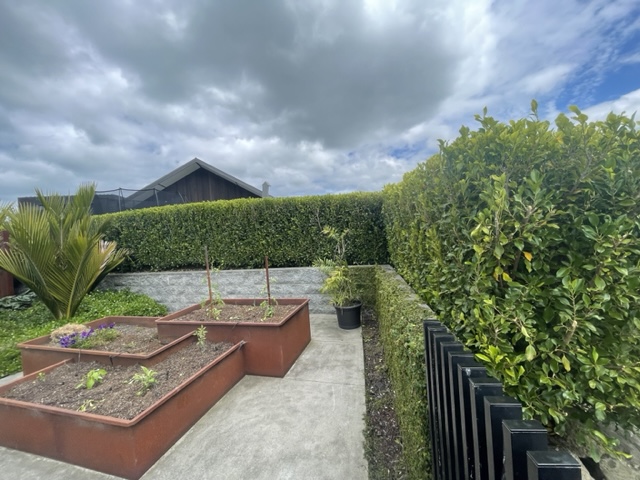
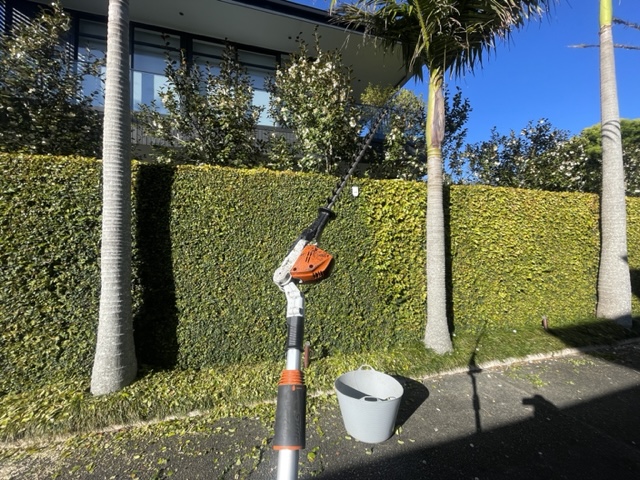
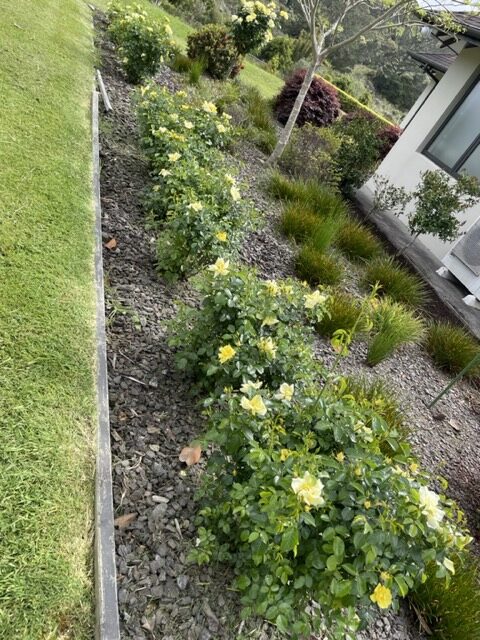
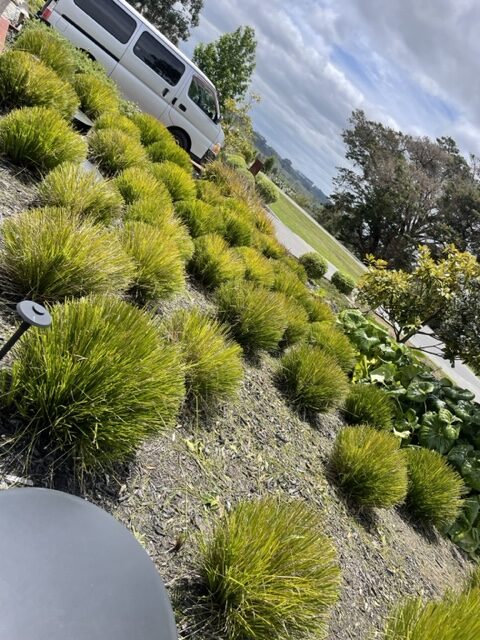
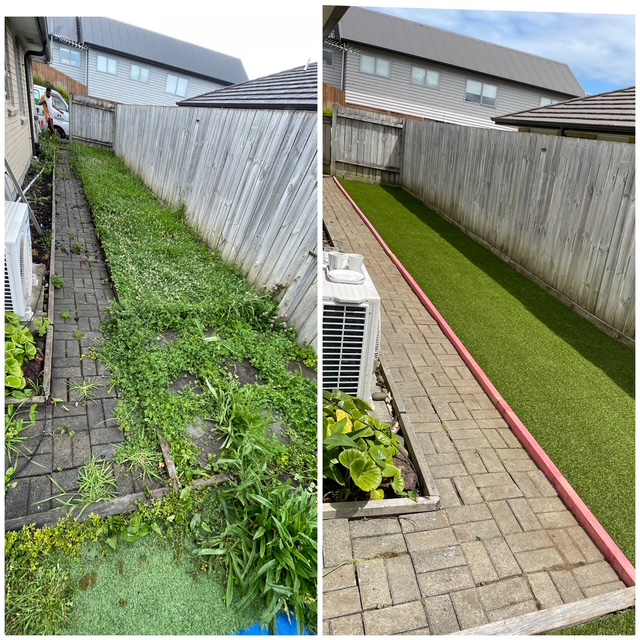
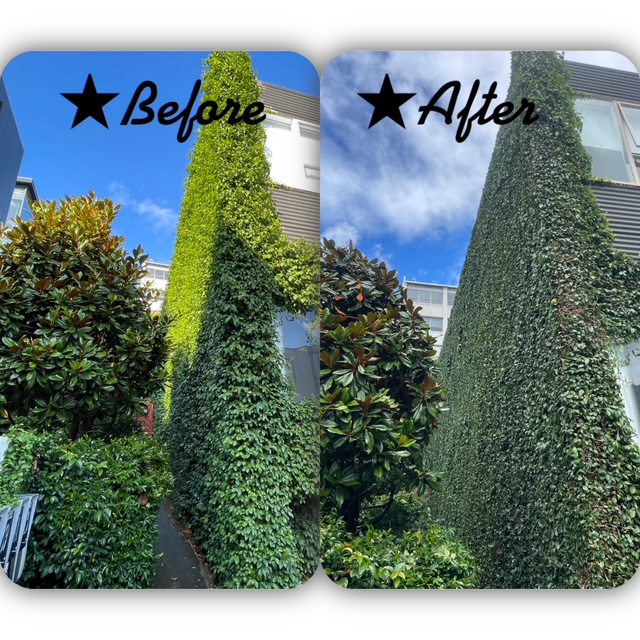
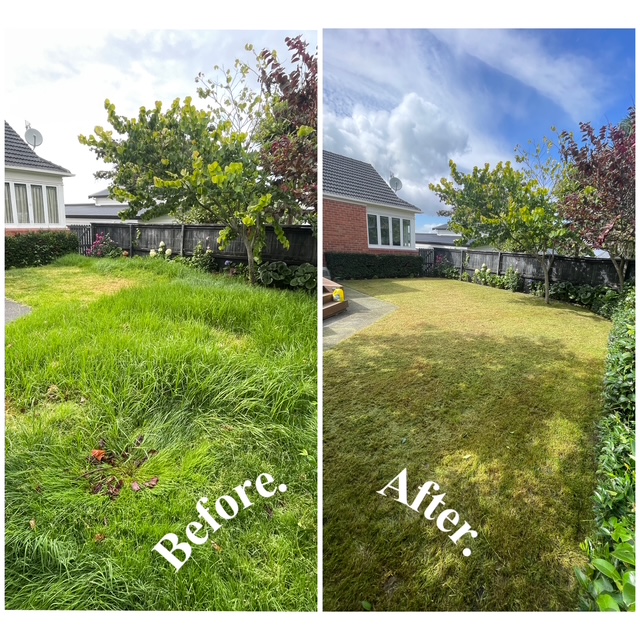
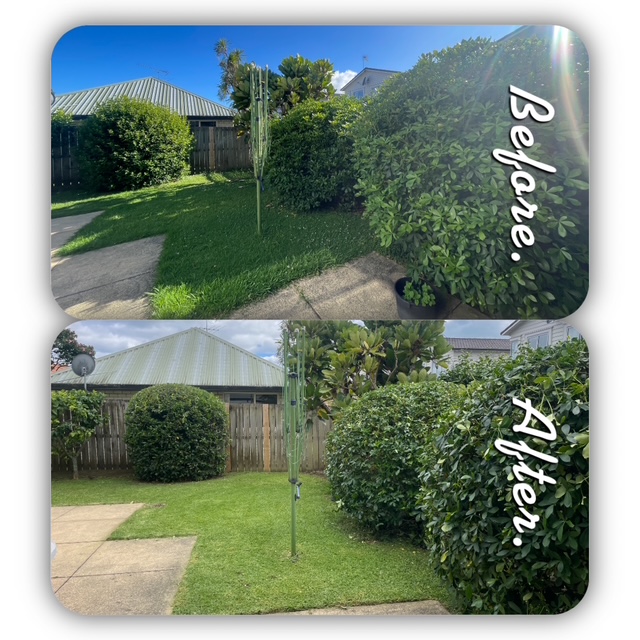
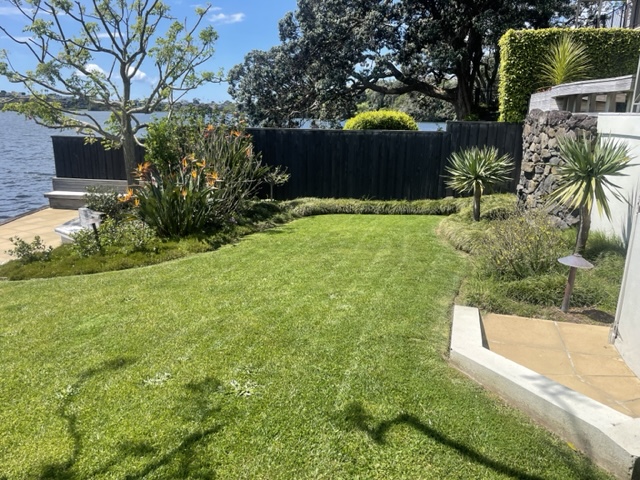
A crisp edge is one of the fastest ways to make a lawn and garden look intentionally designed rather than simply maintained. It keeps mulch where it belongs, creates a clean mowing line, and gives paths, flower beds, and planting areas a more finished appearance. Knowing how to install lawn edging correctly matters because a poorly anchored edge will lift, shift, or disappear beneath turf within a season.
For a result that holds its shape, start with the layout and the ground beneath it. The material is important, but careful preparation is what separates a temporary visual fix from a lasting landscape feature.
Choose edging for the job it needs to do
Lawn edging is not one-size-fits-all. The right choice depends on whether the edge is mostly decorative, needs to contain loose mulch or gravel, or must withstand regular foot traffic and mower wheels.
Flexible steel or aluminum edging produces a refined, almost invisible line around lawns and curved beds. It is durable and well suited to contemporary gardens, but it needs precise installation and secure stakes. Plastic edging is more affordable and easy to shape, although lower-grade products can become brittle in strong sun or rise from the ground over time.
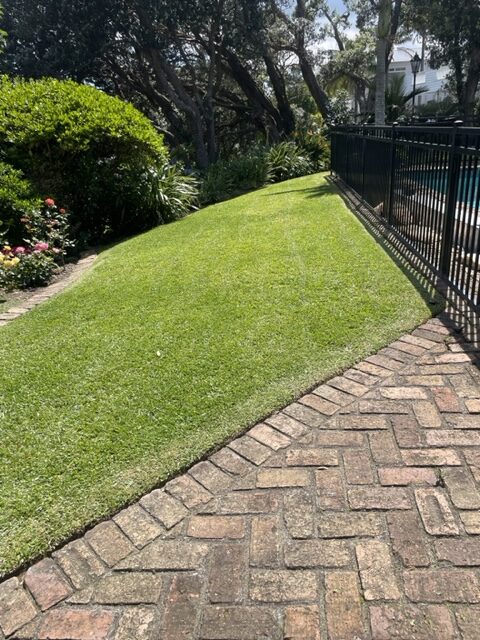
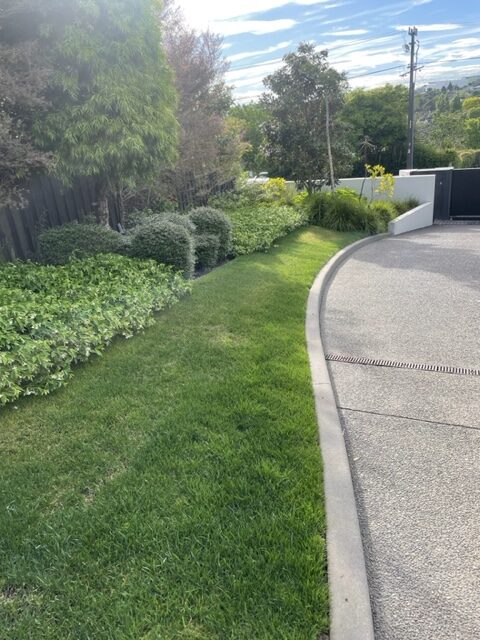
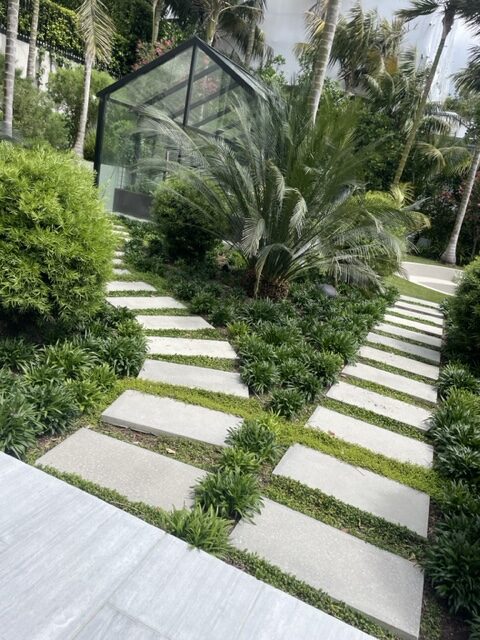
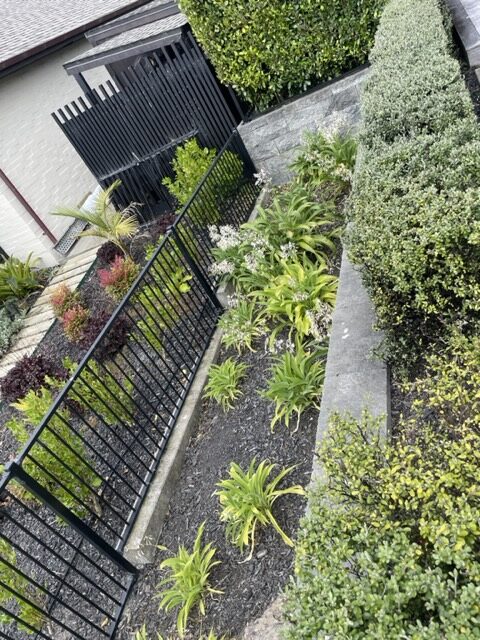
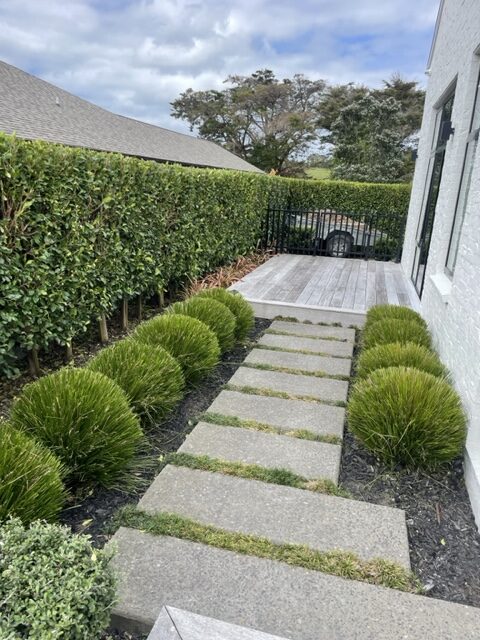
Concrete, natural stone, brick, and pavers create a more substantial boundary. They work particularly well beside driveways, paths, patios, or formal gardens where the edging also needs to carry visual weight. These materials require a deeper base and more leveling, but they offer excellent permanence when installed properly.
For a simple lawn-to-bed division, a spade-cut edge may be enough. It is understated and natural, though it needs to be refreshed periodically as grass grows into the bed. In high-maintenance gardens, a permanent physical barrier usually saves time over the long term.
Plan the line before you dig
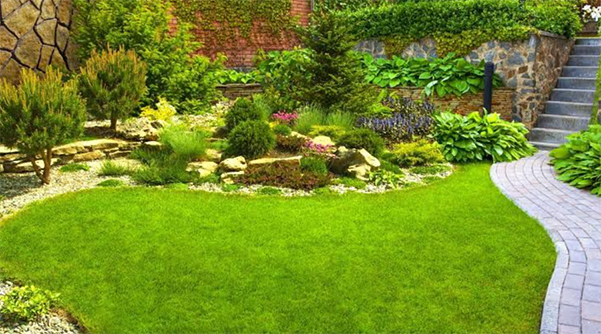
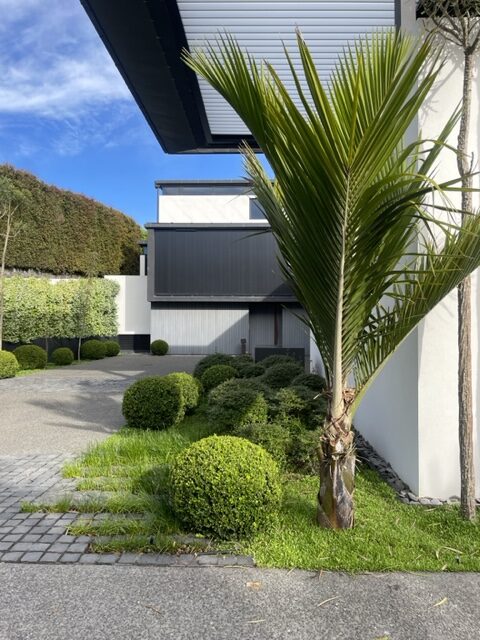
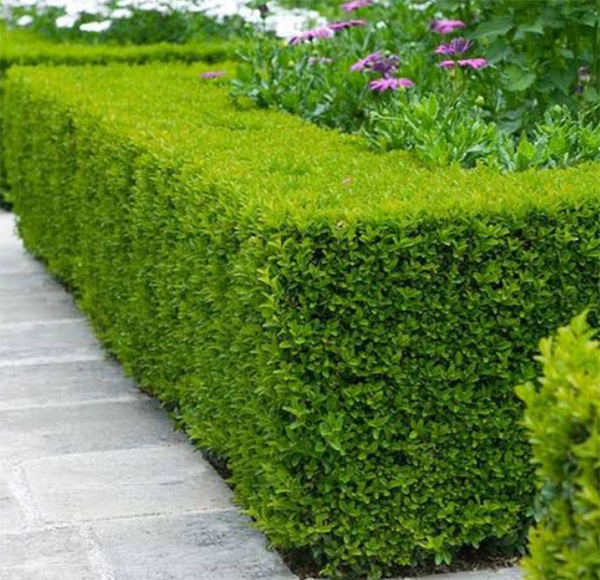
An edging line should follow the garden’s architecture. Straight edges suit formal spaces and rectangular lawns, while broad, sweeping curves feel more natural around planting beds. Avoid tight, wavy curves that are difficult to mow and can look accidental from a distance.
Mark the proposed edge with a garden hose, rope, spray marking paint, or a length of string. Stand back and view it from the house, driveway, and main outdoor living areas. This simple step makes it much easier to refine a curve before excavation begins.
Consider maintenance at this stage. A mowing strip that sits flush with the lawn allows mower wheels to run along the edge, reducing the need for string trimming. If the edging will stand proud of the lawn, leave enough room to trim neatly without damaging plants or the material.
Before digging, identify irrigation lines, outdoor lighting cables, and any other buried services. In established properties, this check is essential. A clean edge is not worth a damaged irrigation system.
How to install lawn edging step by step
The process changes slightly by material, but the principle remains the same: create a stable trench, establish the final height, and lock the edging in place before backfilling.
Mark and cut the trench
Use a flat spade or edging tool to cut along the marked line. For flexible metal or plastic edging, the trench should generally be deep enough to bury the lower portion of the product while leaving the desired reveal above ground. Many lawn edges perform best when only about one-half to one inch remains visible.
For brick, stone, or concrete edging, excavate deeper to allow for a compacted aggregate base and a bedding layer of sand. The exact depth depends on the thickness of the material and whether you want the finished surface flush with the grass.
Keep the trench width consistent. A trench that is too wide makes flexible edging harder to stabilize, while one that is too narrow can force rigid materials out of alignment.
Build a firm base where required
Metal and plastic edging can often sit directly in a neatly cut trench, provided the soil is firm and drains reasonably well. Stone, brick, pavers, and concrete need more support. Add a layer of compactable crushed aggregate, then compact it thoroughly with a hand tamper. Finish with a thin layer of leveling sand.
Do not skip compaction. Loose soil beneath hard edging settles unevenly after rain, leaving dips, tilted pavers, and lines that catch mower wheels. A properly prepared base protects both the appearance and the service life of the installation.
Set the height and alignment
Place the edging into the trench and check the line frequently. Use a string line for straight runs and a level for hard materials. A gentle fall away from buildings is sensible where edging borders a paved area, as it helps avoid directing surface water toward the home.
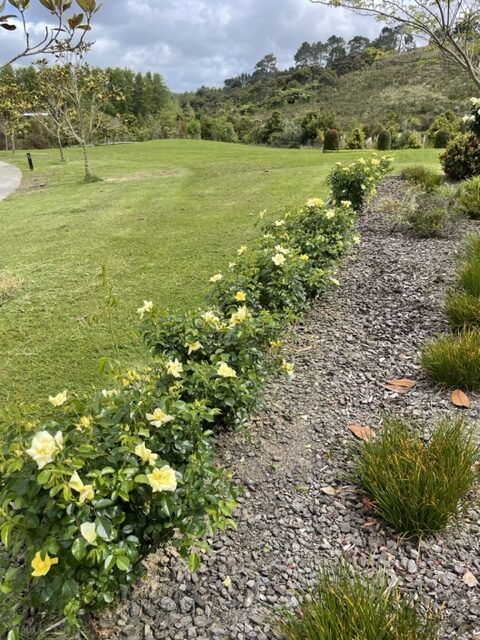
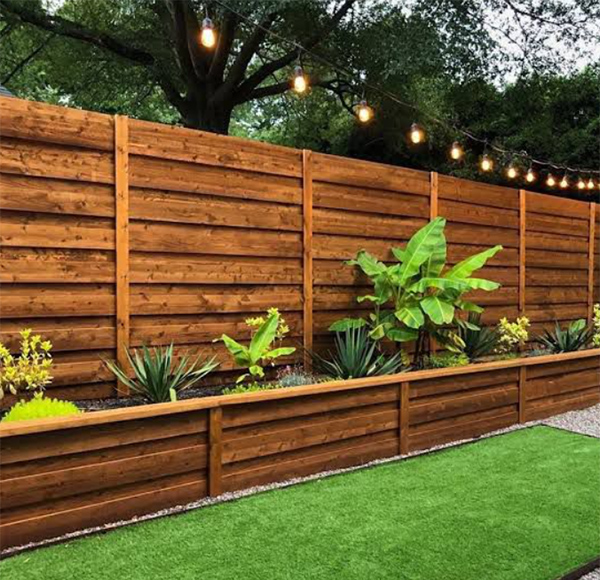
For mowing strips and paver edges, set the top surface close to the lawn level. For mulch beds, a slightly raised edge can help contain bark, gravel, or soil. The best height depends on the garden’s function, not just its appearance.
With flexible edging, form curves gradually. Forcing a sharp bend can create a visible kink that is difficult to correct once the soil has been replaced.
Anchor, backfill, and compact
Install the manufacturer-supplied stakes on the garden-bed side of metal or plastic edging, spacing them closely enough to prevent movement. Drive them firmly into undisturbed soil rather than loose backfill. Pay extra attention to ends, joins, and curves, which are the areas most likely to shift.
For brick or stone, place each unit on the prepared base, check level and alignment, then tap it gently into position with a rubber mallet. Continue checking as you go. Small errors become obvious over a long run.
Backfill both sides of the edging in layers, pressing the soil firmly as you work. On the lawn side, restore the turf neatly against the edge. On the bed side, add mulch only after the edge is stable and the final planting level has been established.
Details that make edging look professional
The cleanest installations have a consistent reveal. An edge that varies in height, even slightly, can make an otherwise well-kept lawn appear uneven. Take the time to view the work from several angles before the final compaction.
Joins deserve equal care. Use purpose-made connectors for flexible systems and avoid leaving gaps where grass roots can push through. If cutting metal edging, protect the finished end with the appropriate cap or fold it safely according to the product instructions.
Drainage is another practical consideration. In heavy or poorly draining soils, hard edging can act as a barrier that traps water along a bed. A well-compacted free-draining base and thoughtful grading reduce this risk. Where a garden regularly receives runoff, drainage should be addressed as part of the broader landscape plan rather than treated as an edging issue alone.
Avoid the common shortcuts
The most common mistake is installing edging too high. It may look defined on day one, but it creates an obstacle for mowers and makes trimming slower. Another is relying on shallow stakes or loose soil to hold flexible edging. Seasonal moisture changes and lawn roots will quickly expose a weak installation.
Using lightweight plastic where a stone or metal edge is needed can also be a false economy. A busy family lawn, a driveway border, or a formal entry garden places greater demands on materials than a quiet planting bed. Select edging based on the pressure it will receive and the standard you expect it to maintain.
Finally, resist the urge to rush the layout. The line itself is the design. Premium materials cannot compensate for an awkward curve or an edge that does not relate to paths, planting, and the shape of the lawn.
Keep the edge sharp after installation
A permanent edging system still benefits from regular care. Remove grass runners that creep into joins, top up mulch before it spills over the edge, and inspect stakes or pavers after periods of heavy rain. A quick seasonal check prevents minor movement from becoming a larger repair.
For homeowners who want a precise finish without spending weekends measuring, digging, and resetting lines, Easy Spacing Landscaping Auckland can incorporate durable lawn edging into a complete garden upgrade or ongoing maintenance plan. The right edge does more than divide surfaces – it gives every part of the garden a clear place to shine.